|
Home Updates Hydros Cars Engines Contacts Links Racing ←2020 2022→ Contact On The Wire |
 |
Oliver Monk 'Workshop Ramblings' 2021
|
Workshop and Kitchen Table Ramblings February
It’s been quite awhile since I have written anything its not that I haven’t been active in the workshop but most of what I have been doing is stuff that I have already written about. So here is a catch up:-
 |
 |
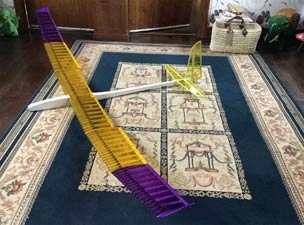 |
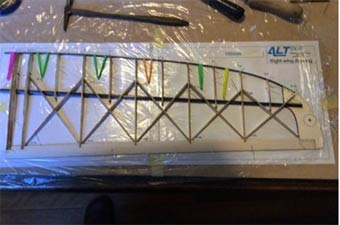
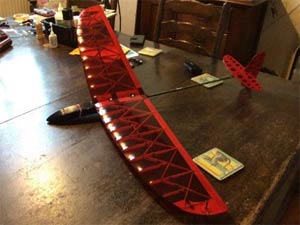
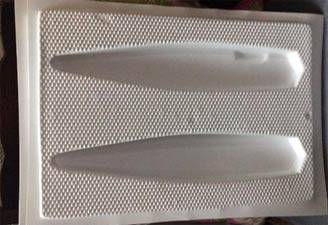
| Discus launched Glider | Electric Powered glider | |
For a change from building cars this lockdown I decided to build a couple of model aircraft. Most will know I am a volunteer at Buckminster, my interest in flying radio models has been rekindled after a layoff of forty years. First two photos are a discus launch glider of one metre span the kit came in a plastic bag. It's all laser cut and the cutting was very accurate, it was a pleasure to build, and something I had not done before, carbon spars and leading edge. You have probably noticed this is the kitchen table bit of the Ramble. The third photo is the other model I built, a German kit called 'Introduction'. It's an F5J electric powered glider of just under three metre span, more carbon in this one, a superb kit. It has got the flaps down in the centre section, not something missing. Still needs the radio control gear and electric motor to be installed.
 |
 |
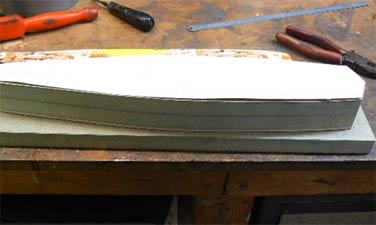
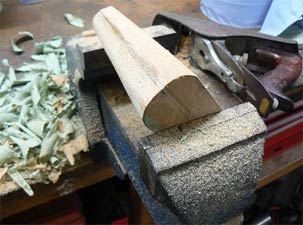
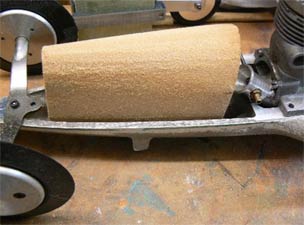
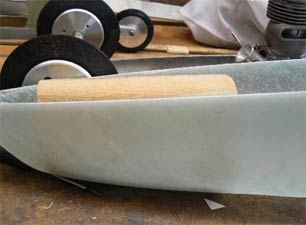
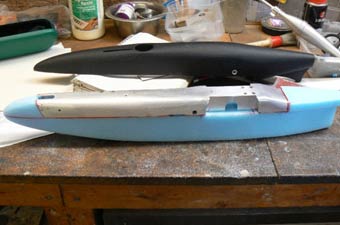
On the left is the start of a plug for my 2.1cc car body. On the right is a vacuum forming of the top and bottom. I am going to lay-up a fibre glass body in the formings, it's an easy way to make a mould.
 |
 |
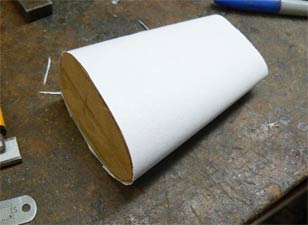
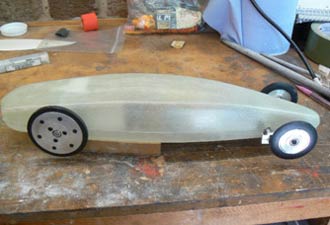
The car, and its body on the right out of the vac formed mould, a success. My lay-up in the mould was not the best but a bit of filler will sort it.
 |
 |
 |
| Making a plug for the tank build on the Moore No 12, the wood is MDF. |
Just making sure it fits the pan. |
|
 |
 |
 |
| And fits the top | Cardboard pattern for the brass sheet | The brass sheet held in place for soldering |
 |
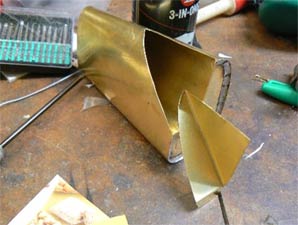 |
 |
| A
little folder I made from an old magazine article |
the cut away in the tank to make
room for the venturi |
The completed tank in the car, very few straight lines in it and took quite a while to build |
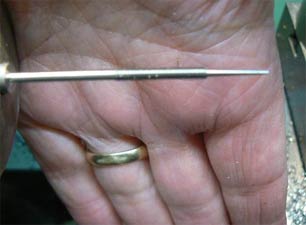
On the left is a needle valve I am making, the thread
is M2.5. The bar it is made from is held in a collet, machine the needle
first then pull out the bar, turn it down, cut the thread, pull it out a
bit more and turn the plain bit, easy. Centre is the completed needle
and half the spray bar. The third picture shows the venturi that was in
the engine, a not very good copy, bought a replacement off eBay, it the
one on the right.
 |
 |
 |
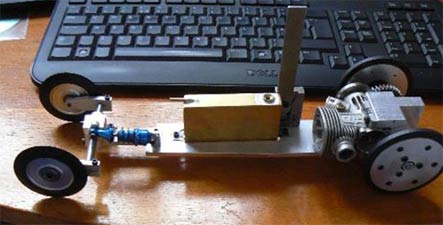
That’s it, I need to get something finished so I have something new to play with at Buckminster. Got four cars on the go at the moment, the closest to being finished is the 2.1cc car followed by a modern 1.5cc car that I am rebuilding, needs a new top that is well underway and an overhaul of the engine gearbox etc. I have made a cable tester to the FEMA design and it will be installed at Buckminster in the next week or two, it’s a replacement for the Heath Robinson one I used last season. We charged everyone who ran cars at Buckminster £10 for the day, £8 went to the BMFA the other £2 was for track upkeep, I used the money raised to buy the steel for the cable tester.
Worksop Ramblings July 2021
|
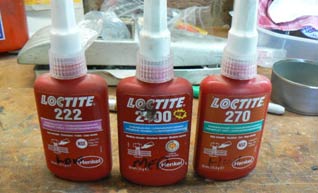
Not a very exciting picture, but the use of these products could safe you money. The Buckminster track has been in use for over a year now and in the early days I think Aaron was one of first to lose a wheel and tyre. Andy lost a wheel at the last meeting this month and I don’t think he was the only one. Most twinshaft engines have a right-hand thread on both sides of the axle this means that as the car goes round one side of the axle is tightening up the bolt holding on the wheel, the other side it is trying to unscrew it. The solution is thread locker to hold the wheels on, the medium strength (blue) works well, high strength gives you a challenge getting them undone. |
|
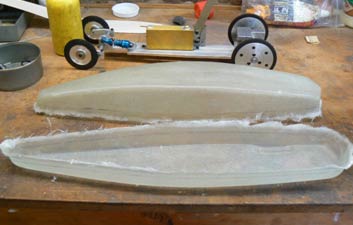
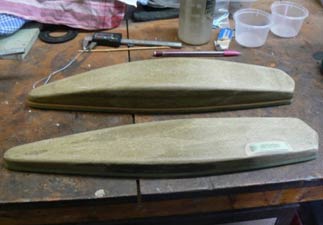
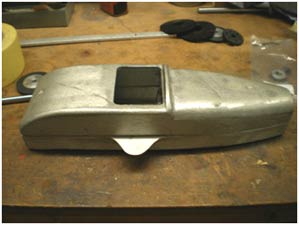
Up until the 2.1cc car all my car bodies have been made by the blue foam method, the picture on the right shows the start of a new body for a 1.5cc car I bought, didn’t like the black wooden body. The left picture is the 2.1 cc car.
 |
 |
This is the new method suggest by Neil one of the Buckminster volunteers I work with. I made the plugs for the top and bottom of the car from MDF sealed with super glue that’s rubbed in. Do it outside, it stinks and wear rubber gloves. Rub it down to get a nice finish, may need another coat of super glue and a final rub down. To produce the moulds, vacuum forming’s were made using the MDF plugs.
 |
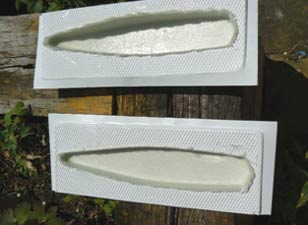 |
I have made two bodies. For the first I used a pva release and the second a wax release that gave a slightly better moulding; both came out of the moulds easily.
|
For the layup the mould is given a coat of resin then the first layer of 25/28 gsm glass cloth. Then 3 layers of 168 gsm twill weave glass cloth. Twill weave glass cloth was also recommended by Neil, you can pull and push it to fit the mould. I use Epoxy resin and glass from Easy Composites. For the laying up resin I use the slow hardener, it gives you plenty of time to layup the part and cure it in the oven at 25° C over night. The bodies came out a bit on the light side so I have beefed one up at the back with two additional layers of glass, much stiffer. If I make any more, I will add a couple more layer of glass. |
|
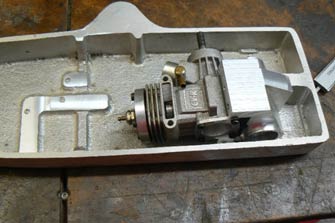
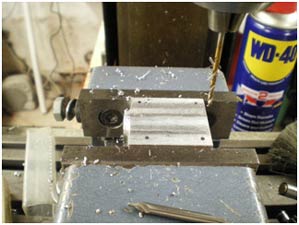
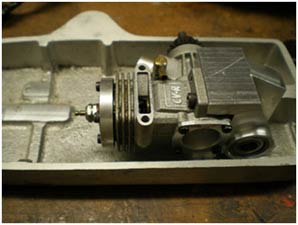
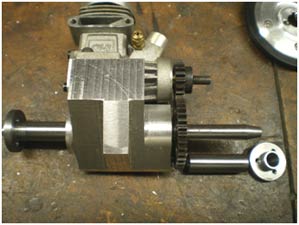
These castings were a recent purchase at one of the Buckminster tether car days, started machining up the bottom casting. The engine is an OS 2.5cc. which by luck fits into one of Lev Sphrints spur gear mounts. I will also be using the gears he sells, that has saved a lot of work.
 |
 |
|
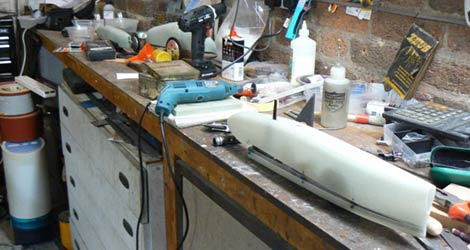
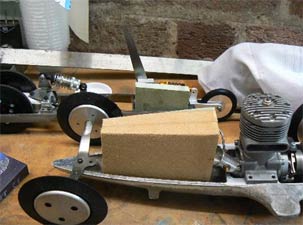
Just thought you might like to see my work bench? Two of the cars have been finished, the 1.5cc and 2.5cc at the front, both yet to be run. One car lurking right at the end of the bench not started yet, the Moore No12. Keeps getting a bit done to it, would like to run it this year. |
|
Workshop Ramblings November 2021
|
|
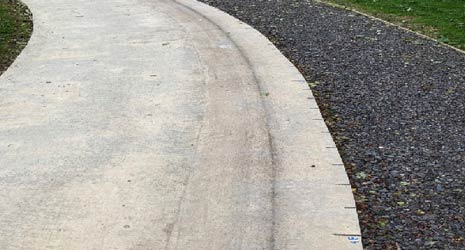
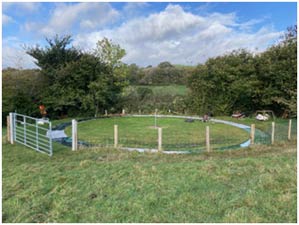
This is a picture of the tether car track at Buckminster, taken just before we covered it up for the winter, it has two things of interest. The first is the single line from the cars tyres, or is it a tethered bike track. To me it looks like the cars are running on two wheels. When you hang them to check the front is pointing out of the track a bit you also need to check that it hangs flat so you get all four wheels on the ground. It's easy to do, just bend the tether arm up until the car sits flat. |
|
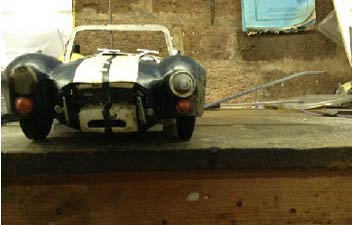
This is my battered Cobra car you can see how much I bent the bridle to get it to run flat. The second thing is all the black lines around the edge of the track. These are all the way round, every 150mm (6"). They are for the laser survey Debby and I did so that we have been able to find where the humps and hollows are. |
|
|
|
|
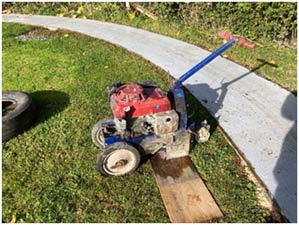
Aaron and I went down to Paul's track that is south of Bristol, he has kindly loaned us a concrete grinder. Over the winter we are going to build a frame to put it into so we can control the depth of cut. |
Back into the workshop. I am not going to do a detailed build as most of it is straight forward machining. The spur drive car is a good next step from a twinshaft powered car
 |
 |
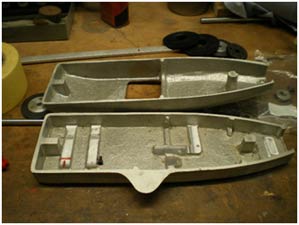
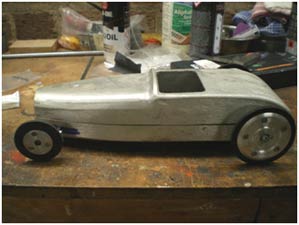
I bought these hot rod castings at one of the summer tether car meetings. I always regretted selling the first hot rod car I built.
 |
 |
I already had a spare spur drive mount and an OS 2.5cc engine that fitted, the drive unit just needed the base milling flat and some holes drilling and tapping to hold it in the chassis.
 |
 |
The is the rear axle, it has a 10 degree taper on the end and a tapped hole in it. While you doing the axle make the flanges as well. Don’t set the topslide back to zero, turn a boring tool upside down and bore the taper on the opposite side to normal, you get a good fit that way.
 |
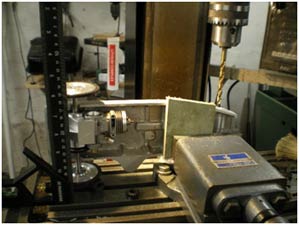 |
You can just about see the flanges in the left hand picture. The right hand photo shows the chassis all lined up in the milling machine, drilling the hole for the front axle. I will come back to the rear axle later.
 |
 |
 |
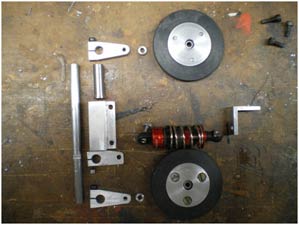
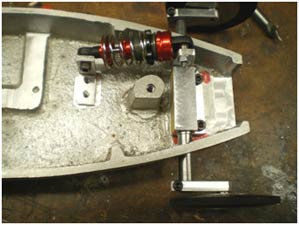
These are all the bits that make up the suspension, all nice straight forward machining. Front suspension all built and in the car. Car on four wheels.
I am sorry but I don’t have any drawings, a lot of it is made up as I go along with the odd sketch to sort out dimensions. When I write the next part of this build I will list where I got all the bits from. Most came from abroad, I have used these suppliers fairly regularly with no problems.
©copyrightOliverMonk2021