

|
Home Updates Hydros Cars Engines Contacts Links Racing ←2017 2019→ Contact On The Wire |
|
|
Oliver Monk 'Workshop Ramblings' 2018 |
January 2018
Well itís the New Year already and I must admit I have not spent much time in the workshop working on my tether cars, other things have taken priority, but before we know it the racing season will be upon us.
 |
 |
 |
 |
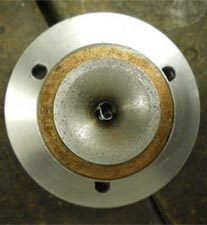
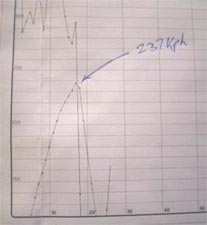
This is the head from my 2.5cc car long with the print out showing the acceleration of the car and it cutting out with a blown plug. Most of the season I have been burning out glowplugs and having a shot blasted finished chamber in the head. I have been reducing the compression but it has made little difference. I put the pictures along with some key data onto one of the controline web pages, it was suggested that I was running the engine lean to compensate for the low compression, I have never had any bad advice from this guy so I am going to try the compression ratios he has suggested and other 2.5cc car drivers use.
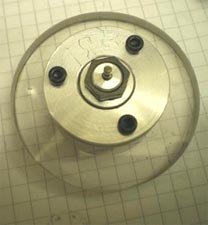
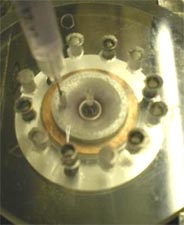
On the right is my head volume device that I copied from Gabor. Itís accurate as long as you get all the air out of the glowplug. I use an insulin syringe which measures small volume this one does 0.3cc and they are cheap off EBay.
 |
 |
 |
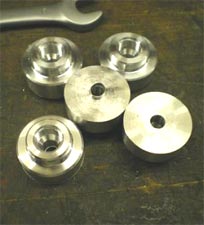 |
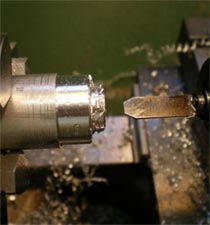
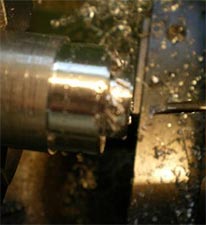
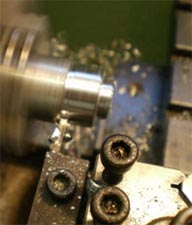
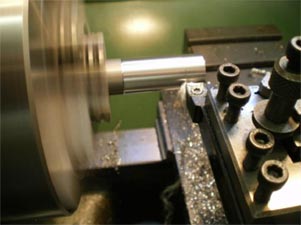
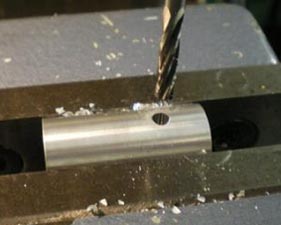
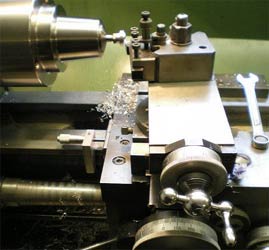
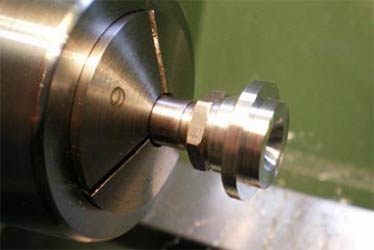
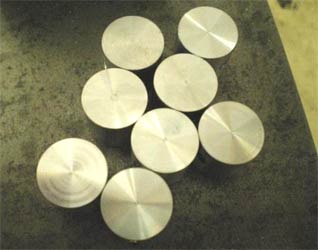
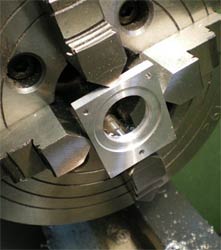
Back to making heads, you have probably seen this before but itís a slightly different way of doing it. Still using a D bit cutter to form the taper seat for the glowplug, and a tapping size hole for the thread. The second picture shows the grooving tool I use to cut a recess at the top of the taper so the plug seats well. To the right parting off the part finished head blank, five blanks ready to have the chamber cut in them. More on this next time.
Making pistons for my 3.5cc engine not done these before and itís a new material but the same silicon content as the other material. It machines very well.
 |
 |
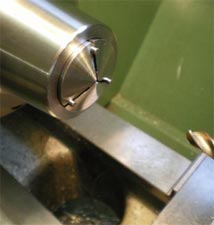
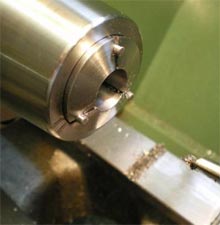
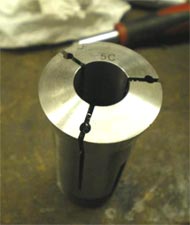
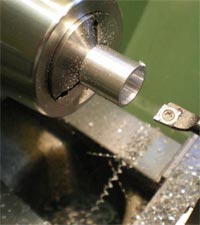
The 3.5cc piston is not a standard collet size. 5C collets have a small size range, but you can buy emergency collets that can be machined to size.
 |
 |
 |
 |
|
The three pins hold the collet open
while you machine it and when done you pull them out. |
The finished collet and
it holding the blank for the start |
||
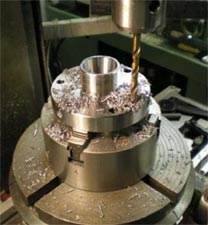
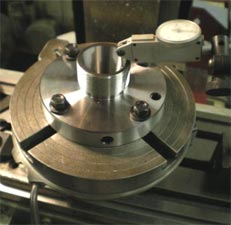
Still on with collets, this time ER32 collets to fit the bigger 3.5cc piston. I use a collet chuck which come with 3 hold down bolt holes whilst my rotary table needs 4.
 |
 |
 |
 |
|
Drilling the extra holes and then
clocking up the collet chuck so that it runs true on the rotary table. |
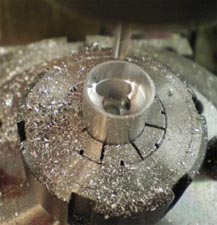
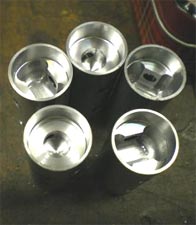
Milling out the inside of the pistons itís a slow process on a manual machine. Got 5 insides done 5 more to do. |
||
More on machining the pistons next time got to put a couple of holes in them and machine the skirt. Plus a little more tooling.
|
|
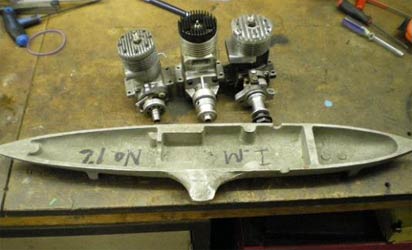
I put this picture up last time. I am led to believe that the Maserati is a Vega casting, anybody know where I could get some tyres from? They will be around 90mm diameter. If you know of any tyres let me know oliver.monk@btinternet.comThe Moore car no 12. I can get the parts that I need and I can fabricate a gearbox. The other Moore car on the right of the picture I am unlikely to build as in my eyes itís not a pretty car. Thatís it for this month, hope to get back into the workshop and carry on the preparation of my 2.5 and 3.5cc cars. Could be held up a little with the FEMA rule translation to English and any rule changes needs to be complete for the race in Kapfenhardt. |
February 2018
I have had a bit of a break from making pistons. My old laptop has been slowly dying, so I bought some software that would sort out its problems and make it go faster. That finished it off. I spent a few days sorting out my Windows 10 laptop and loading all my files onto it, so this is the first Ramblings on my new machine.
 |
 |
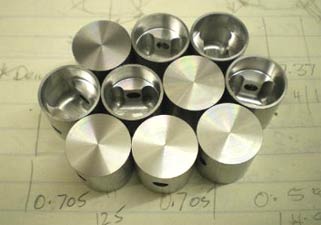
The batch of pistons ready to
have the circlip groove machined in. Easy to do once you have set up the bed
stop
for the distance in, and set the zero on the cross slide for the depth, you can
rattle through them.
 |
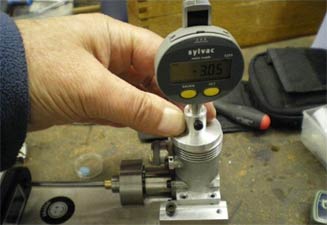 |
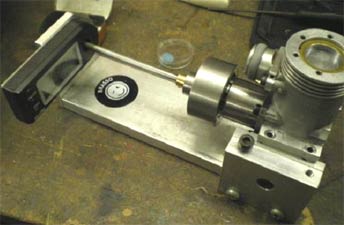
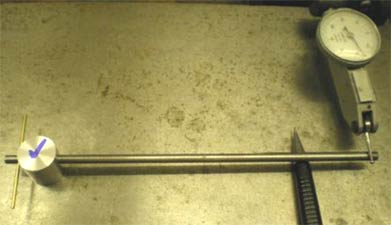
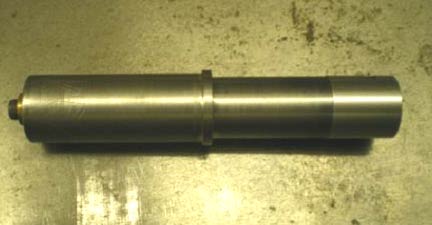
To get the right amount of nip at the top of the cylinder bore, I set the engine up with the amount of exhaust timing I want. Measure the height from the top of liner to top dead centre using an old piston and then to this dimension I add the distance from the top of piston to the sealing band and the amount of liner lift I want (how tight you want it). That gives me a dimension to use when I fit the piston to the bore.
 |
 |
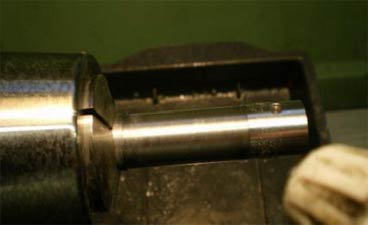
The wrist pin hole is checked
to ensure it is parallel to the base of the piston if not the base is altered
until it is.
Then the piston is fitted to a mandrel ready for final turning to size
 |
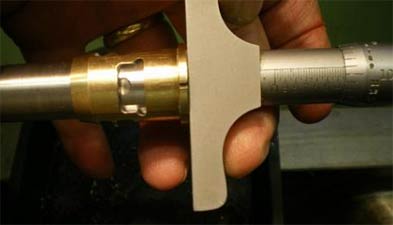 |
The cutting lubricant is
cleaned off the piston with solvent and then dried, the liner is also cleaned,
so when
you slide it over the piston for measurement it comes to a dead stop and you get
consistent results.
 |
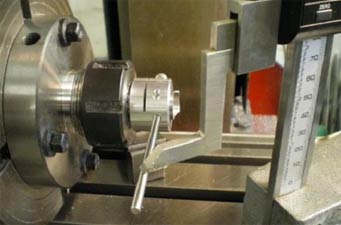 |
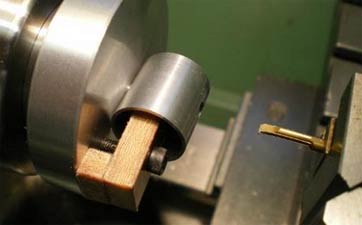
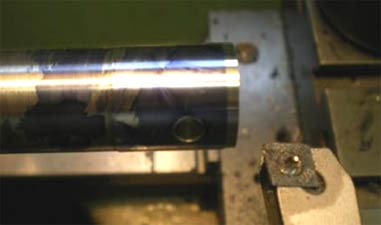
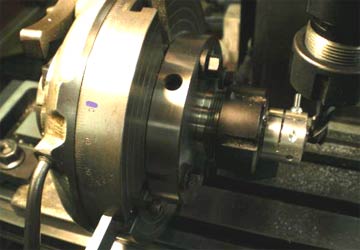
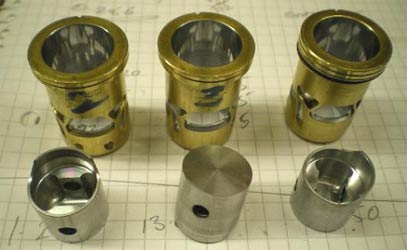
The first picture shows the taper being turned on the top of the piston the blue is just so you can see what you are doing. The other picture shows the tooling being set up using and old piston. The collet is a design that I saw on the internet being used by Andriy Yakymiv for machining pistons works very well.
 |
 |
The jig in action shaping the
piston skirt, the blue dot on the scale is so I can find my stop positions
easily.
The finished goods ready for this season.
 |
 |
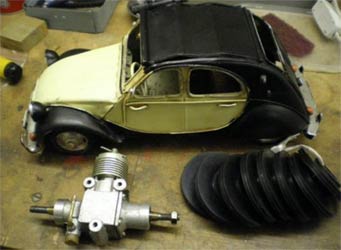
I needed a break from pistons and found this tin plate car on eBay already got the engine and tyres, the engine will fit, just.
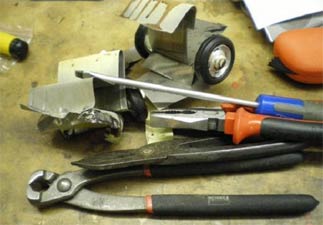 |
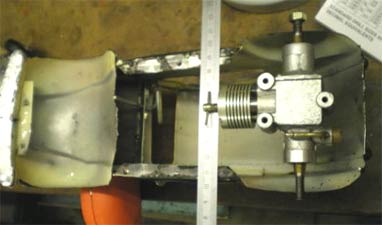 |
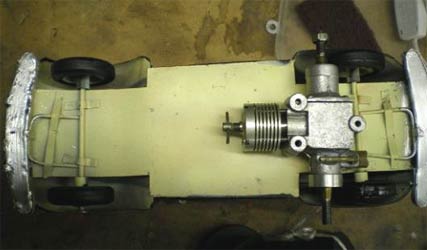
Removing the inside of the car is not a precision job, the engine will fit. Just going to need some fancy wheel nuts. Should be a fairly quick build as it will be similar to the Cobra car I run at Great Carlton.
Well next month more pistons for the 1.5cc engines, hubs and wheels to make for the 2CV. I have really got to get to work on the FEMA rule changes that I have received.
No joy with the plea for some tyres for the Maserati, so thatís going on the back burner until something turns ups.
Thatís it for this month. Get to see all the UK modern car racers for the annual scrutineering session in early March.
Workshop Ramblings March 2018
|
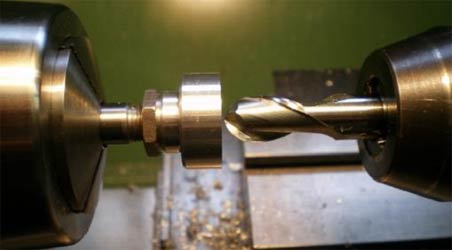
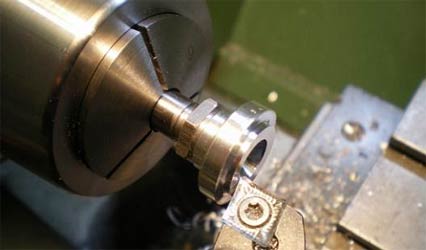
I was given four boxes of Model Engineer magazines and this was the only one with any tether car information in it. It describes us modern tether car racers as fanatics. It's normally a challenge to find a new home for magazines, but rather than send them for recycling I advertised them on the local Facebook for sale page. I had five people wanting them, they went to a nine year old boy who collected them with his mum. A while ago I made some head blanks for the 2.5cc engines. Below is the finishing off process, I cut the combustion chamber with a ball end mill the fixture has a stop in it so it goes to the right depth. I then put on a shoulder, a little bigger than the bore of the liner, this lets me measure the head volume. |
|
 |
 |
 |
 |
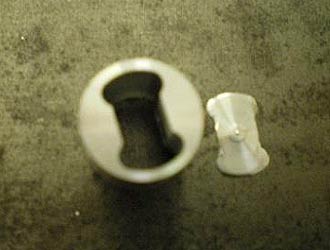
On the first picture I am machining the squish band, I use 3 degrees. You will see in this picture that I am using a micrometer saddle stop. This lets me take accurate cuts so that I can get the head volume I require, during the process I take the head off and check the volume as I go. The second picture is the head finished to fit liner and at the right depth to give me the squish clearance I want. All it needs now is a polish of the combustion chamber.
 |
 |
|
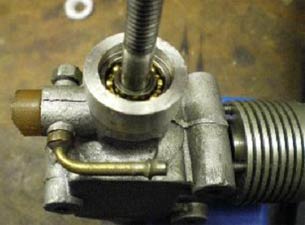
Sometimes you get the mental arithmetic wrong. Pistons for Aaron 1.5cc engine |
|
 |
 |
 |
|
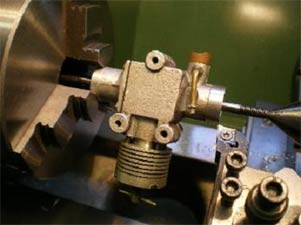
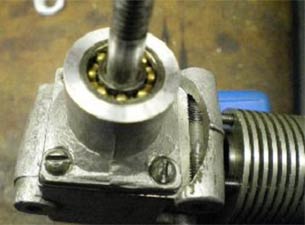
Back on with the 2CV project. The engine is a
little too wide but the front bearing is well recessed |
||
 |
 |
 |
 |
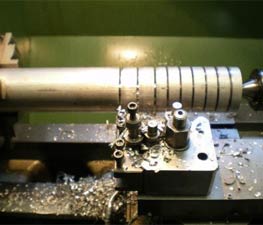
| Parting blanks | Band sawing through | Machined wheel blanks | Milling tyre groove |
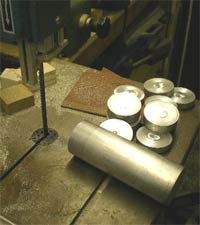
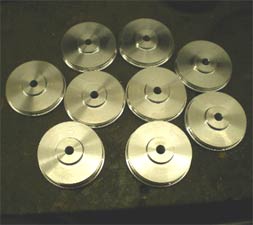
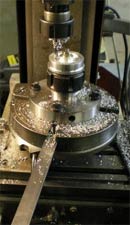
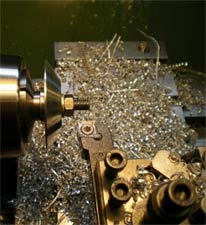
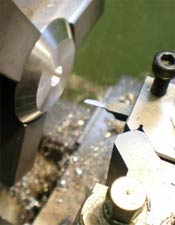
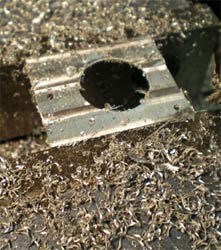
Cutting wheel blanks for hubs for two of my twinshaft engines. The first machining operation done. I have always turned the groove for the tyre to go in, but someone suggested milling them in, certainly an easier way to do it.
 |
 |
 |
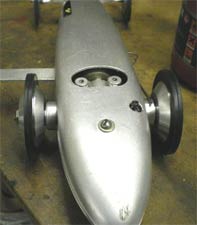 |
Left: Finishing off the hubs and boring the fixing taper on the engine side of the hub. Mandrels and soft jaws make the process very repeatable and quick to do.
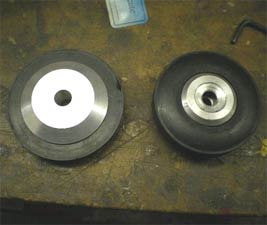
Right: The new wheel and the one that came with the Temp engine. The new tyres I got from a friend in Lithuania. I struggled with the original Temp tyres the kept coming out of the hubs the rubber has probably gone soft. We will see how they perform this season at Great Carlton.
 |
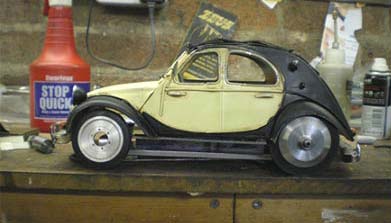 |
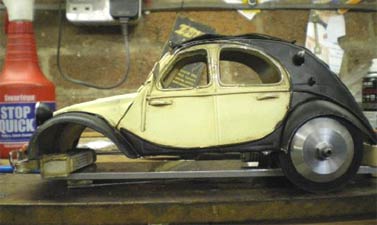
The 2CV is not going quite as planned. It's sitting a bit high off the chassis, the picture on the right shows the fix. Put on the back bench while I decide its future.
My projects are coming to an end as I am struggling for bits for the castings I already have, but I have a new Russian car kit being delivered at one of the races. Itís a junior 2.1cc car but of modern design and for a modern engine, should be interesting.
June 2018
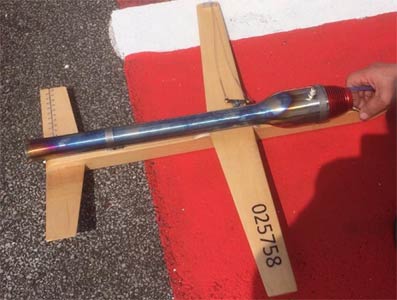
Something a little different. This is my sport jet model, powered by a Hobby King pulse jet, which had its first flight at Barton. Its best speed was 130.7mph, the second flight was a little slower, didnít do a third flight as it needs a mod to the engine but it was good. Its not bad really when you think the pulse jet cost less than a liner/piston for a tether engine.
 |
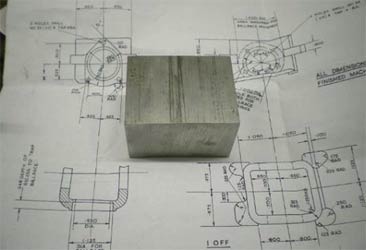 |
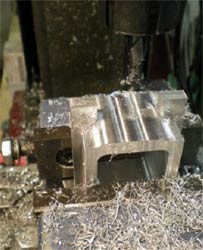
I have started a new project, an Ian Moore No12 car. The original was powered by a Dooling 10cc engine but there were a couple of other 10cc engines about at the time this car was running, the McCoy and the first OPS. I have not made my mind up to what engine yet. The gearbox was originally a casting, but these are no longer available so its going to be machined from the solid.
 |
 |
 |
 |
|
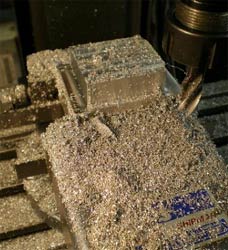
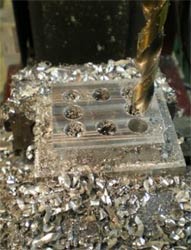
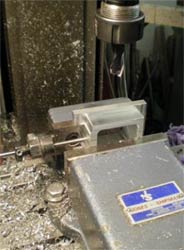
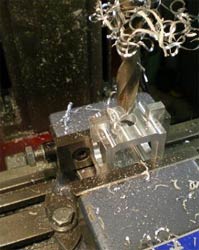
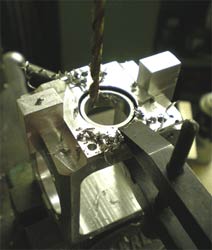
Its lots of swarf. In the first picture I am using a roughing end mill for fast metal removal and the second picture is drilling the holes, so I can remove the metal from the inside quickly. |
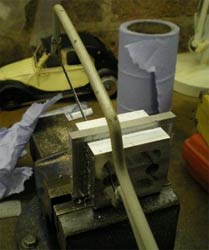
Plunge milling to start removing metal and hacksawing the last bit out, got a nice hole now. |
||
 |
 |
 |
 |
|
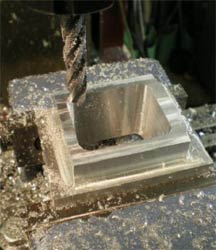
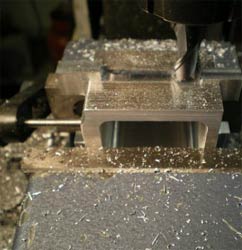
The inside of the gearbox complete, again with a long series roughing end mill. Removing metal from the outside to form the lugs. |
As both sides are
the same I used a stop on the |
||
 |
 |
 |
 |
|
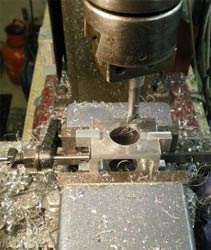
Boring out the holes for the axle bearings and the other picture is drilling the hole for the drive bearing prior to boring. |
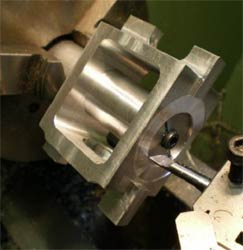
Facing off the outside of the gearbox for the bearing housings to sit. The rouging end mill does not give a smooth finish and my milling was not exactly the same top and bottom. The gearbox needed a rounded edge on the bottom sides, I cheated and used a router cutter it worked really well. |
||
 |
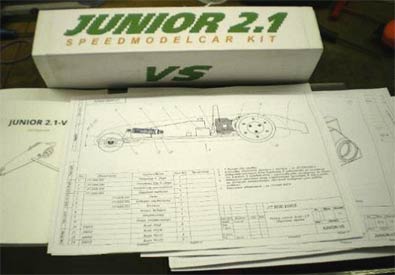 |
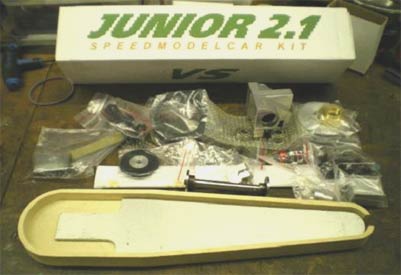
This is a new tether car kit from Russia produced by Lev Shprints, I picked it up when I was racing in Tallinn. Itís a modern 2.1cc Junior class car that are raced in Russia and parts of Europe and it is based around a Novarossi 2.1cc engine. More on this latter. As soon as I get chance I will start building it, the instructions are in Russian, but Lev has given me a word document that Google has now translated and its readable.
My racing season has not got off to the best of starts. The 2.5cc car is on strike and I have not got a run out of it. The only thing I have changed is the type of glowplug. I have not got any left of the ones that work, and I cannot get any at the moment.
The 3.5cc car has done one reasonable run out of three, but an engine and pipe change in Tallinn did not go down very well, at least I can change it back for European champs and have one car that will run.
Thatís its for this month, got some work to do on the 2.5cc car engine, new heads and another type of glowplug. Plus the sport jet will get another outing.
Workshop Ramblings November 2018
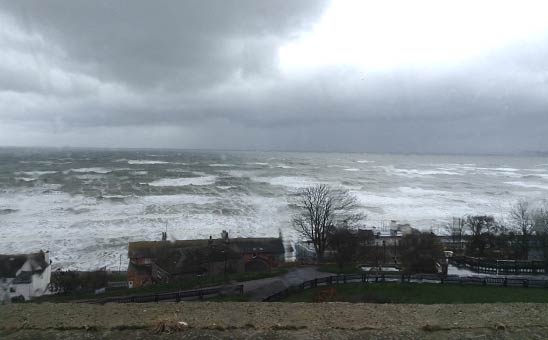
Its been a busy summer of racing and holidaying, I have spent some time in the workshop but most of it has been to keep my cars running. We are in Filey at the moment for a few days holiday, not the best weather, winds gusting up to 45mph, thatís what the weather man says. I have just finished the work on the English version of the FEMA regulations, they have now gone for formatting, ready to go on the website at the end of the year.
 |
 |
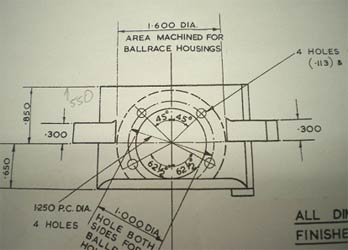
The Moore No12 drawing for the hole positions in the bearing housing and gearbox casing. The easy way to drill these is on the rotary table.
 |
 |
 |
 |
| 1 | 2 | 3 | 4 |
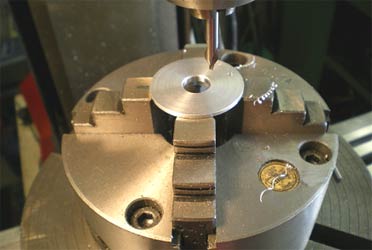
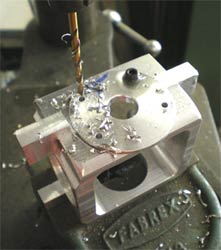
1- Marking through the holes into
the gearbox casing. Note that one hole is drilled and tapped to hold the housing
in place while drilling the other three holes.
2- The second picture shows the pinion gear bearing housing being machined.
3- The bearing housing is quite thin. It was easier to do the boring out on a
thick piece of metal in the four-jaw chuck and thin it down on the mill.
4-
The finished bearing housing in place, spotting the holes through.
| The pinion gear assembled to the drive shaft is held in place on the drive shaft with a tapered collet, the same as the flywheel on a crankshaft, and all the bits. |
|
|
|
|
This is the gearbox nearing completion, the main axle was made in a very similar way to the one in the Shadow car I built. The drawing shows a different method but it did not suit the gears I had salvaged from an old Denneler 10cc car gearbox. I am still pondering on which engine to fit in it. I bought a nice Dooling 61 at a very right price at the recent Buckminster swap meet. Also need to find some tyres for the front wheels. |
|
A pair of hubs for the front wheels of the 2CV car. This is a quick, easy way to make front wheels, just hold the hub in place with two screws using the holes in the wheel. |
|
|
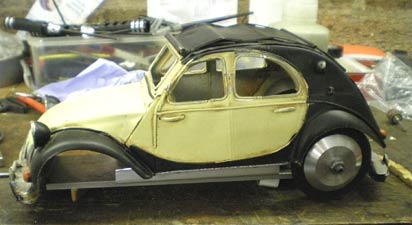
A bit more on the 2CV car it has sat under
the bench for quite a while, I could not get the engine and
wheels into the body. I am fairly happy with the solution, it just
looks likes a jacked up hotrod now.
 |
|
|
I had to jack the car body up to get the back
wheels in, I folded some aluminium sheet to do it with. |
|
|
|
|
The car nearing completion. It is important to get the balance right, it needs to hang so the front is pointing out a little, around 4 to 5mm and the tether arm is bent so the car runs flat on the track. Just the tank and shut off to make now. |
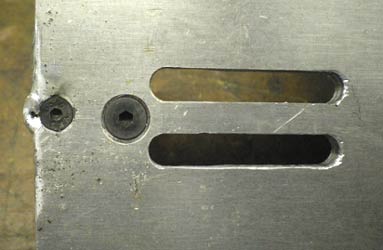
This is the chassis for my Cobra car the engine mount has come loose nearly every time I have run it so I needed to solve the problem. I cut two elongated holes so I could get at the bottom engine hold down bolts then it was off to see Nigel, he welded the mount on while I waited, problem solved.
 |
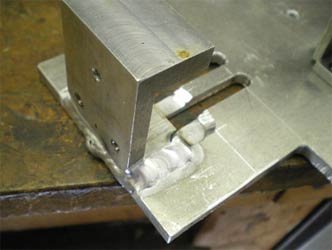 |
Nigel is a local Tig welder specialising in welding exotic metals. He has all sorts of interesting racing engines and gearboxes to repair. When he did the Cobra car repair, he had just finished a repair on a vintage Bugatti crankcase. It was so rare and irreplaceable that it was delivered and was to be collected.
Winter is coming and only one more race and a Christmas market and then it's all over for this season, I have a few projects in mind but I need to finish some that I have started, the 2CV is one so it's ready for next season at the Great Carlton Track.
A new sport jet model, got a new faster pulse jet and have started to cut the wood out. Pistons to make or the 2.5cc engine there has been some interesting discussion on the Barton Club website on measuring liners for ovality. If anyone has a set of air gauging equipment, they want to part with I would be very interested, or even bring some liners to be measured. A flywheel for a Stelling 2.5cc engine that I bought, old but unrun. All bits and bobs nothing major yet.
©copyrightOliverMonk2018